English
 Deutsch
 España
 Français
 Italia
 Русский
 عربي
عربي


Installing a self-closing safety gate involves mounting the hinge side to a solid post or wall stud, attaching the latch side to a matching strike plate, and then adjusting the spring or hinge tension until the gate reliably swings shut and latches from any open position. The entire process typically takes under an hour with basic tools, but the critical step most people get wrong is skipping the final tension adjustment and multi-cycle test. Below, we walk through the full installation process step by step, the tools needed, common mounting surface considerations, and how to verify your self-closing safety gate is properly installed before relying on it for child or pool safety.
Tools and Materials Needed Before You Start
Having the right tools on hand before beginning prevents mid-installation delays and ensures the mounting hardware is properly secured rather than improvised.
- A power drill with both a driver bit and a masonry or wood bit matching your mounting surface.
- A level, ideally a torpedo level, to confirm the gate hangs plumb and swings freely.
- A tape measure to confirm post spacing matches the gate width specification.
- A pencil or marker to mark hinge and latch hole positions before drilling.
- The mounting hardware included with the gate, or corrosion-resistant screws rated for outdoor use if installing near a pool.
Step by Step Installation Process
- Measure the opening width and confirm it falls within the gate's adjustable range, typically allowing for a few inches of adjustment on either side.
- Position the hinge side of the gate against the mounting post, hold it level, and mark the screw hole locations with a pencil.
- Pre-drill pilot holes at the marked positions, sized slightly smaller than the mounting screws to prevent the wood or masonry from splitting.
- Attach the hinge bracket firmly to the post, checking with a level that the gate hangs perfectly vertical before fully tightening the screws.
- Swing the gate closed and mark the position of the latch mechanism on the opposite post, ensuring it aligns with the strike plate height.
- Mount the strike plate or catch bracket, then test that the latch engages smoothly when the gate is pushed closed by hand.
Manufacturer installation guidelines generally recommend using at least three mounting screws per hinge bracket when attaching to wood posts, since a two-screw mount is significantly more prone to loosening under the repeated stress of daily gate cycling.
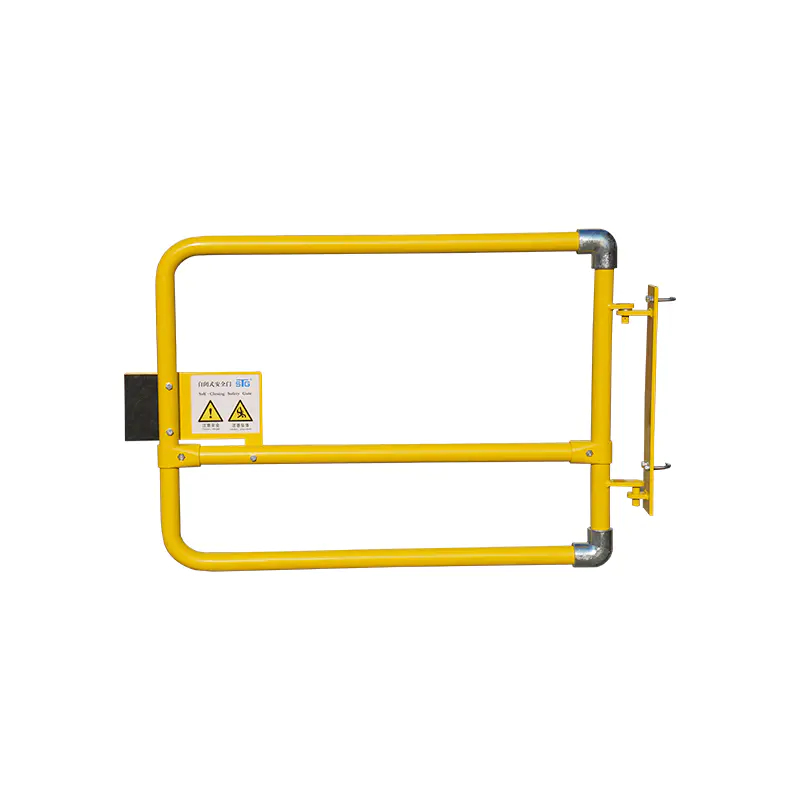
Adjusting Spring Tension for Reliable Self-Closing
This is the step most commonly skipped, and it is the one that determines whether the gate actually functions as a safety device. Most spring hinges include an adjustment screw or tensioning collar that controls how much force pulls the gate shut.
Setting the initial tension
Start with the tension set to a moderate level, then open the gate fully and release it. If the gate does not swing completely closed and latch on its own, increase the tension incrementally using the adjustment screw, testing after each small adjustment rather than making one large change.
Testing across the full range of motion
A properly adjusted gate should close and latch reliably whether released from a small 20 degree opening or a full 90 degree swing. Testing only from a partially open position is a common installation error that leaves the gate unreliable during real use, since children and adults typically push gates fully open rather than partway.
Mounting Surface Considerations
| Surface Type | Recommended Approach |
| Wood post or fence rail | Use lag screws long enough to penetrate at least 1.5 inches into solid wood |
| Brick or concrete | Use masonry anchors rated for the gate's weight, pre-drilled with a masonry bit |
| Metal fence post | Use a mounting bracket designed specifically for round or square metal posts |
| Vinyl or composite fencing | Reinforce the mounting point internally, since vinyl alone often cannot support gate weight and cycling stress |
Installing directly into hollow vinyl fencing without internal reinforcement is one of the most common causes of gate failure reported in home improvement forums, since the repeated pulling force from the spring hinge gradually works the screws loose from the thin material.
Positioning the Latch Out of Child Reach
For gates used around pools or with young children present, the latch release mechanism placement is just as important as the closing mechanism itself. Many regional pool safety codes, referencing standards similar to those published by ASTM International, require the release mechanism to be located at least 54 inches above the ground, or if lower, positioned on the pool side of the gate and set back from the gate edge to prevent a child from reaching over or through the gate to release it.
When installing a self-closing safety gate for pool or child safety purposes, always confirm the local building code height and offset requirements before finalizing the latch position, since requirements can vary by jurisdiction.
Final Testing Before Relying on the Gate
Once installation and tension adjustment are complete, a thorough test cycle confirms the gate is ready for regular use.
- Open the gate to a small angle, release it, and confirm it closes and latches without assistance.
- Open the gate to a full 90 degree swing, release it, and confirm the same reliable closing and latching.
- Repeat this test at least 10 times to rule out inconsistent performance caused by uneven spring tension or hinge misalignment.
- Check that the gate does not drag against the ground or frame at any point during its swing, which can prevent full closure over time.
If the gate fails to close reliably after 10 consecutive tests, revisit the tension adjustment and hinge alignment before considering the installation finished, since inconsistent closing defeats the entire purpose of a self-closing design.
Ongoing Maintenance After Installation
Installation is not a one-time task, since hinges and latches naturally loosen or wear over months of daily use.
- Check mounting screws for looseness every few months and retighten as needed, especially after seasonal temperature changes that can shift wood posts.
- Lubricate the hinge mechanism periodically with a silicone-based lubricant, avoiding oil-based products that can attract dirt and grime.
- Re-test the full range of motion closing reliability every few months, since spring tension can gradually decrease with repeated use.
- Inspect the strike plate and latch bolt for corrosion or misalignment, particularly in gates installed near pools where chlorine exposure accelerates wear.